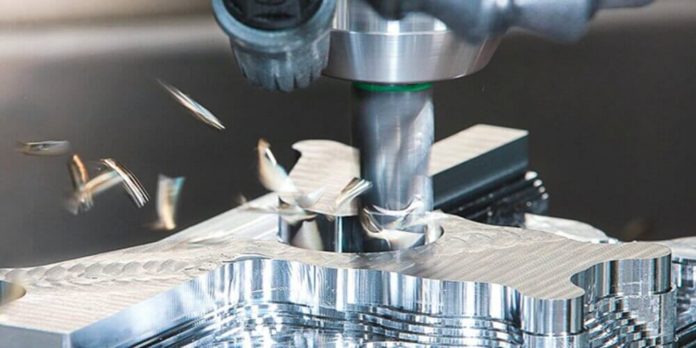
Roundness error appears as a deviation on the CNC machine. This disrupts the accuracy and tolerance of the CNC machining services, leading to unguaranteed surface quality. The CNC machine roundness error is more evident when the machining center picks up the curved surface in high progress.
Some of the causes of the roundness error on machining centers are vertically periodic error, servo mismatch, reverse overshoot, proportion mismatch, reverse clearance, and a few others. We will look at the most pertinent ones in this article.
Roundness errors on machining centers – causes
Below are some of the causes of the roundness errors on machining centers. Note that they can be detected by the instrument known as the ball-bar, which means that the cause can be found before eliminating the fault that follows.
1. Reverse overshoot error
This error occurs when the required torque applied by the driving motor is not applied when the machining center is supposed to be driven in the opposite direction. This causes a short pause due to a change in the direction of friction.
This condition resets the tool path to the original path after creating an arc interpolation. To solve the problem, inspect the CNC machining system setting and use the ball-bar meter to measure the original error. If the machining tool does not vibrate enough, you might need to increase the speed loop gain.
2. Servo mismatch error
A servo mismatch error occurs when one axis of the CNC machine tool is far above the other. This occurrence causes the interpolated arc to be out of the circle. The solution to this problem is simple. Since the ellipse degree is greater depending on the highness of the CNC machine feed rate, by simply adjusting the loop gain position of each axis, you can make it balanced.
3. Reverse clearance error
The reverse clearance error is one of the most avoidable errors in the CNC machinist services. It just requires proper maintenance. Lack of maintenance will wear the nut pair, ball screw, and guide rail out. This can also happen if the CNC machine has not been used in a very long time.
The solution to this problem is to detect and input the measured error into the CNC system using a ball bar instrument.
4. Scale mismatch error
When machining runs in a circle, the distance between axes should stay the same. This error occurs when there’s a difference between these axes during a test. Note that the scale mismatch error is quite different from the proportional mismatch error. While the scale mismatch error refers to the explanation above, the proportional mismatch error occurs when there is a difference in motion position.
The first thing to do when this error occurs is to first inspect the linear error parameters to see if they are adequately set. Afterward, the CNC machine path will be checked to make sure that it’s adequately aligned.
Conclusion
The causes of roundness errors on machining centers are but are not limited to, the above-listed causes. It is important to carry out a thorough check whenever a fault is detected in the CNC machine to help ensure that the exact problem is being tackled.


